
Capos change your guitars tuning in seconds!
Do you know there’re different types of Capos? Each Serves a different purpose depending what your requirements are. This can depend on things like the music style, ease-of-use and tuning that you wish to play!
Guitar Capo Types
Guitar capos are categorise into the following types:
- G7th Capo – uses an advanced pressure based system that you squeeze to adjust (Fully Recommended).
- Trigger Capo – uses a spring-loaded mechanism to clamp onto the fretboard (Most Popular).
- Screw Capo – uses an adjustable screw system to clamp onto the fretboard
- Shubb Capo – uses an adjustable lever system which can be easily flipped on or off…
- Partial Capo – uses a Shubb based design but to only, and purposely cover 3 strings
- Spider Capo – instead of a full bar across the strings, this controls strings on an individual level
- Roller Capo – this is positioned on a rolling system to easily move up and down the fretboard
- Cradle Capo – this has a longer bar to increase tuning accuracy
- Strap Capo – uses buttons and a plastic based fabric to attach onto the fretboard
- Toggle Capo – uses an adjustable strap to hold tension on the fretboard
In this article, we look at ALL these capo types in more detail, discussing there pros and cons and my experience when using them… Let’s get started!
What is a Capo?
Before, we look into all the guitar capo types in detail, lets first discuss what a capo is, so that we are all on the same page. Simply put, a Capo is an accessory that clamps across the fretboard and allows you to switch between keys as you adjust (move up and down) the clamped fret.
Situations when a capo is essential!
Being able to change the tuning of you guitar this way provides the following benefits!
- You can change key without learning the new chords patterns – You do not have to relearn any songs when the key has changed. The chord pattern will remain the same, on higher or lower frets. If the song you are playing is required to change the key then you can use the same chords as before.
- Adapt your Guitar chords with the Singer’s voice – by being able to change key effortlessly you can easily experiment to find the best key your singer can sing in.
- Get Creative! – You can experiment with different tunings to create uniques sounds and textures to your music just like Andy Mkcee (above video)
1. G7th Capo (Fully Recommended)
G7th Capo was first built in 2004. You may consider this design to be revolutionary as it works by pinching. Making it very easy to move up and down the fretboard.
In addition, the inside of the capo is lined with rubber, you can fine-tune the tension by squeezing the capo into position.
G7th Capo – BEST Options
[amazon box = “B07NDW6HH8”]
The G7 is fully recommended because it solves all common problems people have when using capos. In fact, it is designed specifically so you can move the capo up and down frets whilst playing. If you are someone that spends a lot of time using a capo, and would also like to experiment and be creative by switching tunings throughout songs then this is the perfect choice!
The only disadvantage this capo has is the cost, as it is considerably more than it counter parts. However, in my opinion if you are serious about guitar then it is definitely worth every penny.
Overall, this Capo is most recommended in the list. It has a small and sleek design, functions without any obstruction.
Pros
- Simple Design – gentle and unique
- FAST & Efficient – Easily and quickly adjusts
- Fine-tuning – You customise the fune-tuning by squeezing into position
- Tuning – Firm attachment provides the perfect tuning
- Both Acoustic & Electric – works perfectly fits with both Acoustic and Electric Guitars
- Unique Tension – allows the user to apply a unique tension on the fret of the guitar.
- Rubber contact – the rubber contact surface mimics a real finger. This prevents tuning problems by providing a broader fretting surface
- Quick release – you can take the capo of in seconds without any messing around on stage
Cons
- Cost – Quite expensive
Up next…
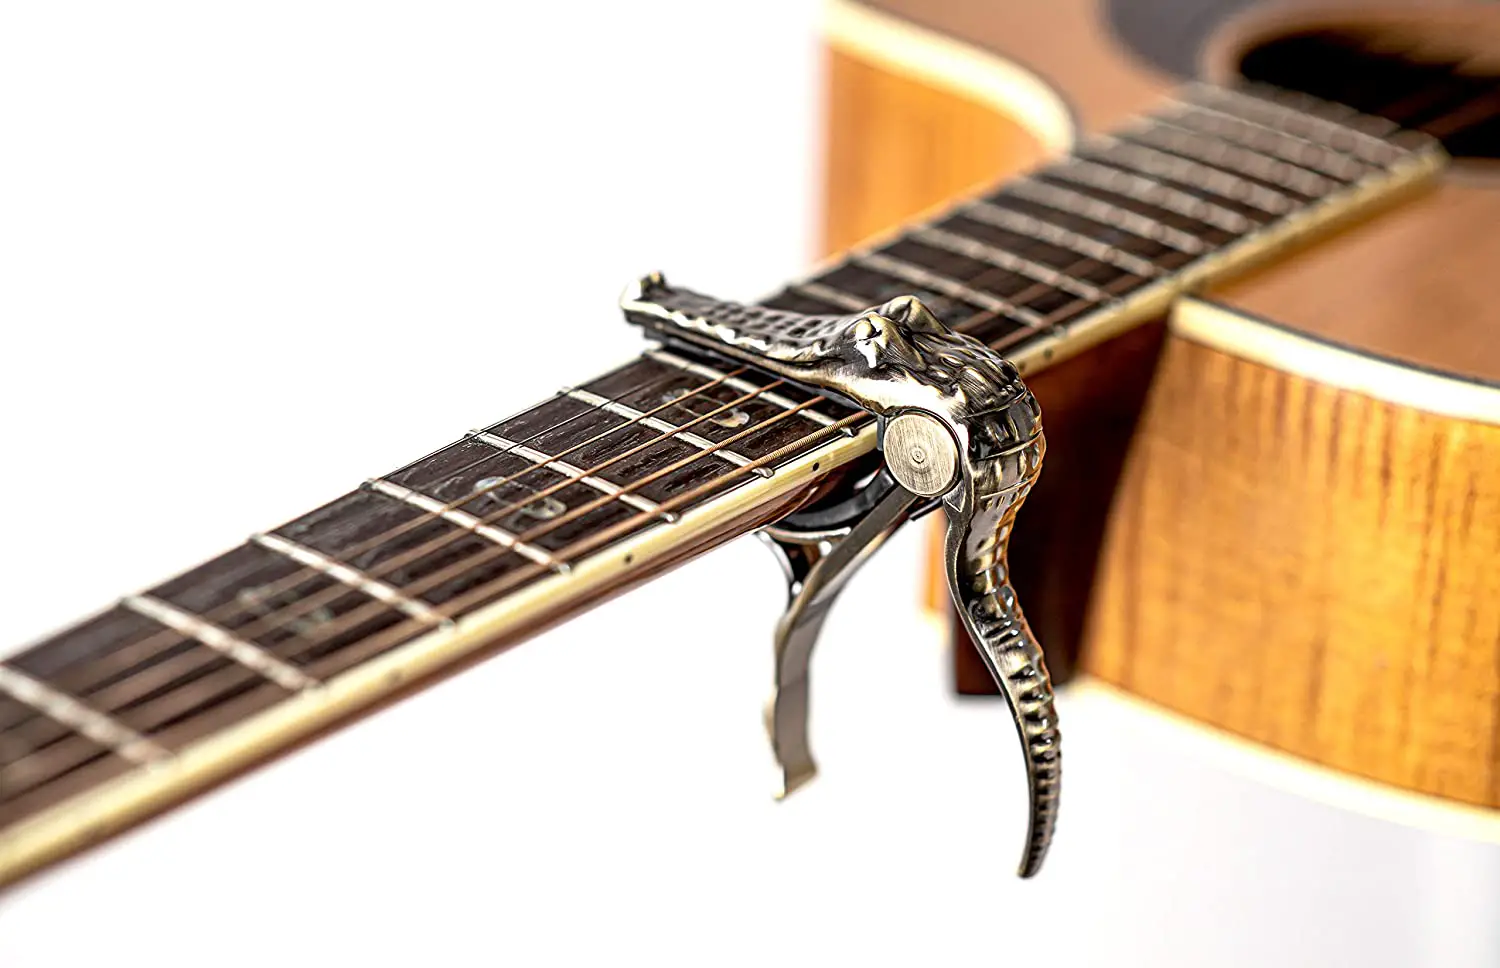
2. Trigger Capos (Most Popular)
Trigger capo (also referred to as Spring Capos) are the most common. This is mainly thanks to their easy and inexpensive characteristics.
With this design, players can easily reposition the capo using just one hand. Making them good for quickly moving up and down the fretboard.
Clip Vs. Spring
There are two types of trigger capos; clip and spring. Choosing between clip or a spring design may be based on your personal preference, however, i personally found my experience with the spring design to be unfavourable. Generally, it was too tight and clunky.
“Clip” Trigger Capo Example


The clip design holds the tension by using a clip mechanism
“Spring” Trigger Capo Example

The spring design holds the tension using a spring mechanism
I would have to say that the spring design is better suited for Electric guitar. Whilst the clip design works well for both electric and acoustic.
Overall, the clip design is much recommended.
Trigger Capo – BEST Options
[amazon table=”3572″]
If you get a good brand of trigger capo then these work great and i would highly recommend the clip based trigger capos. This would include either the Kyser or the Jim Dunlop. The Kyser is slightly better as it has more precise grip, and just looks more appealing in my opinion. However, either way you cannot go wrong!
Pros
- Fast Adjustment – because of the simple design all you need to do is squeeze the handles together
- Easy to adjust with 1 hand – by being able to adjust using only 1 hand is very helpful for live performances
- Inexpensive – you can get a good one without breaking the bank
- Beginner friendly – because of the ease-of-use factor makes them suitable for beginners
- Durable – Brands may vary in quality. But, if you get a Kyser or dunlop they are off a firm attachment and solid life
Cons
- No tension adjustment – Cannot manually adjust the tension of the capo, it may be too loose or tight
- Fret Buzz – May cause problems with fret-buzz. (if not enough tension is applied)
- Tuning Problems – guitar necks vary in width and if the tension is to strong then your guitar will go out of tune
- Watch-out for unbranded – There are many bad quality which are useless. Mainly, manufactured in china, low quality and have not gone through any quality checks. You will recognized these because they are unbranded
Up Next…
3. Screw Capo
To address the problems of the trigger capos, the Screw capos works by an adjustable screw based system that allows you to fine-tune the pressure against the strings.
You can apply the perfect tension regardless of:
- neck size
- fret position
- string action
…or any anything else you might encounter.
Screw Capo – BEST Options
[amazon table=”3577″]
As most things you get what you pay for. If you are looking for the BEST quality screw capo then the D’addario (first option) is what i would recommend. Not only is it premium brand that specialize in acoustic based equipment. It is outstanding quality and durable being built with Aerospace Grade Aluminum.
However, the Fender is a close second. Not to mention it has quite a cool design.
Pros
- Fine-tune tension – You can put the perfect level of tension on a guitar regardless of the guitar’s neck size, string action, or fret position
- Tuning Accuracy – as you can fine-tune screw capos they also keep your instrument in tune for longer.
- Inexpensive – you can have professional standard capo without spending much money
Cons
- Ease-of-use – Takes two hands for altering and repositioning. Altering the screw is not the smoothest process. This can be a problem when all eyes are on you whilst on stage. This could leave you with poorly set tensions and awkward breaks during live performances
- Time to adjust tension – Because the screw capo requires you to manually clamp the capo to the fretboard means that you will need more time to fit it to your Guitar
Up next…
4. Shubb Capo
The Shubb capo design combined with both the speed of a trigger capo, and the precision of a screw capo…
Shubb company first developed their capo back in the 1980s, where they solved the common problems faced with the screw and trigger capo. It seem has all the advantages a Guitarist need from a capo, being quick repositioning, firm attachment and suitable for different instruments as well as different playing styles.
Over the years, the Shubb company continually refined their design, making several capos designed for specific instruments.
Through the use of a simple lever, which can easily adjust the tension can effortlessly flipped on and off…
While they’re significantly more expensive than the previous capos we’ve seen…users will tell you that they’re well-worth the added cost.
Shubb Capo – BEST Options
[amazon table=”3596″]
Overall, Shubb are brilliant capo and i would recommend these most after the G7th capo. Further, if you are settled on a Shubb capo then make sure you choose the right design for best performance. This is because Shubb offer an acoustic, and electric model of their capos.
Pros
- Unique Tension – allows the user to apply a unique tension on the fret of the guitar.
- Rubber contact – the rubber contact surface mimics a real finger. This prevents tuning problems by providing a broader fretting surface
- Quick release – you can take the capo of in seconds without any messing around on stage
Cons
- Cost – The Shubb capos are slightly more expensive, compared to the screw and lever capo types.
Up Next…
5. Partial Capo
If you’re an advanced player and want to create something unique, the Partial Capo will help you do so. It works by purposely being shorter and covering 3 of the 6 strings
I have seen some players get overwhelmed as it completely changes the dynamics of your playing (you will need time to practice using it, and creating something that sounds good).
Partial Capo – BEST Options
[amazon table=”3618″]
The partial capo is for advanced players only, and i would not recommend it for beginners. However, these are brilliant for advanced players as it just expands your whole horizon, as it gives you option to experiment with new and exciting tunings!
Pros
- Increases creativity – you can experiment with different tunings to spruce up your playing style
- Intrigues Live crowds – A Talking piece (at gigs) you will be remembered as the audience or other musicians most likely have never seen them before
Cons
- Cost – Quite expensive
Up next…
6. Spider Capo
The SpiderCapo is another revolutionary piece of kit.
It allows you to capo each string individually, making hundreds of open string tunings possible without re-tuning your guitar.
Spider Capo – BEST Options
[amazon box=”B08KHTCV8N”]
The capo is for advanced players only as newbies would not find any use for it. The only disadvantage this capo has is the cost. But, if it meets your requirements then in my opinion it is definitely worth the money.
Pros
- Fully customizable – giving you access to hundreds of open string tunings
- Ease-of-use – You can change tunings while playing
- Fine-tuning – Fine-tuning of each string for exact intonation giving you maximum sustain and full tone
- Quick release – you can take the capo of in seconds without any messing around on stage
- Both Acoustic & Electric – works perfectly fits with both Acoustic and Electric Guitars
Cons
- Cost – Most expensive of all capos
Up next…
7. Roller Capo
While probably the least popular of all the capo designs on this list…
The roller capo is designed to quickly get access to your open strings whilst playing. It can also be moved into position using only one hand and in a matter of seconds.
As a kid i commonly went to open-mic nights, and there was this one time i seen a guy using the roller capo. Whilst playing in the middle of a track he activated and de-activated it effortlessly in seconds (by tucking it behind the nut). This is something that really impressed me and i never forgot. So, i would say these are great for leaving a positive impression on your audience because they are impressive when you see them in use!
Roller Capo – BEST Options
[amazon box=”B0839G2N5K”]
This is another capo for advanced players.
Pros
- Reposition with speed – you can easily grab it with one hand and slide it up and down the neck
- Easily access open strings – with this design you don’t actually remove it, it is designed so you just slide it over the nut for open-string playing
- Even fretting pressure – they have a larger base that provides more even pressure across the fretted strings. This reduces issues with tuning
Cons
- Non-adjustable tension – which can potentially cause the same problems as trigger capos
- Lots of metal surface – which has the potential to scratch your guitar
- Limited neck size – which may not fit classical and 12-string guitars
Up next…
8. Cradle Capo
The cradle capo has a self-centering design, ensuring even tension across the fretboard.
It has a tune-tuning screw that lets you dial in the perfect tension, while allowing the freedom for quick transitions.
You can easily hook this behind the nut when not in use
Cadel Capo – BEST Options
[amazon box=”B078VJ7KYC”]
Due to its even tension and fine tuning capability i would say this is most ideal for recording.
Pros
- Even tension – thanks to the self-centering cradle it provides the most even tension amongst all capos
- Convenient – Able to store above the Guitar nut when not in use
- Fine-tuning – Fine-tuning of each string for exact intonation giving you maximum sustain and full tone
- Quick release – you can take the capo of in seconds without any messing around on stage
- Both Acoustic & Electric – works perfectly fits with both Acoustic and Electric Guitars
Cons
- Take two hands – its not as fast and easily moved across the fretboard than some of its counter parts
Up Next…
9. Strap Capo
Strap Capo is simply a strap that latches around the Guitar’s neck. This is usually made of a slightly stretchy elastic based nylon material which help it easily stick onto your Guitar.
It is easy to use and inexpensive, you can even make it on your own with some simple equipment. However, the Strap Capo is usually blamed for lacking ease-of-use and wearability. It is just a bit fiddly, and wears faster than its counterparts because when you are changing fret you drag the material against the fretboard.
Strap Capo – BEST options
[amazon box=”B0002CZVUA”]
Because the strap capo is cheapest of all options, makes them a good option newbies (only).
Pros
- Simple Design – because the design is literally a piece of material and a button, they are easy to use
- Inexpensive – the cheapest of all capos
Cons
- Need two hands to adjust – can be a bit fiddly as you need two hands to apply the clip at the back
- Easily wear out – the material will eventually stretch and not hold enough tension
- Can’t adjust the tension – there is no way to fine-tune to the tension for a perfect setup
- Slippage – may slip a little bit when playing, which affects the tuning
Up next…
10. Toggle Capo
Toggle Capo is just as same as the strap one with an added latch for ensuring its firmly attached. There are several increments that can be tightened along multiple notches on the back of the capo.
The toggle capo wears out easily, especially elastic ones and in some cases when you stretch it too much, it can break.
Toggle Capo – BEST Options
[amazon box=”B000EEL29U”]
It is designed for curved fingerboards, it is cheap and suitable for beginners or the Ukulele.
Pros
- Inexpensive – another simple design that is cheap to buy
Cons
- Need two hands to adjust – can be a bit fiddly as you need two hands to apply the clip at the back
- Easily wear out – the material will eventually stretch and not hold enough tension
- Lacks Fine-tuning – when applying the strap on your Guitar, it tends to lie in between two notches; either one notch happens to be too loose and the other notch is too tight.
- Slippage – may slip a little bit when playing, which affects the tuning
- Easily used incorrectly – I have noticed that people overly tighten these to the point where they break
Conclusion
Choosing the right capo all depends on what your your end goal is. You maybe looking for something to:
- To experiment with
- Convenient for Gigging
- Recording in a studio
- something cheap to throw around
Overall, the main thing that separates each one is speed and convenience. The rest it is mainly down to personal preference!
Let me know what you choose and why in the comments below… 🙂