
Do you know how to CORRECTLY Repair Guitar’s Pickguard? Since the pickguard is very easy to be detached you EASILY repair and customize your own following the instructions below…
How to repair the Pickguard? If you want to repair your pickguard, you will first need to find a replacement. You will need to make sure the replacement is the same match. You can then remove the old pickguard and the new pickguard can be attached!
In this article, I go into detail about how to repair your pickguard… so let’s jump right in!
1. What Is a Pickguard?
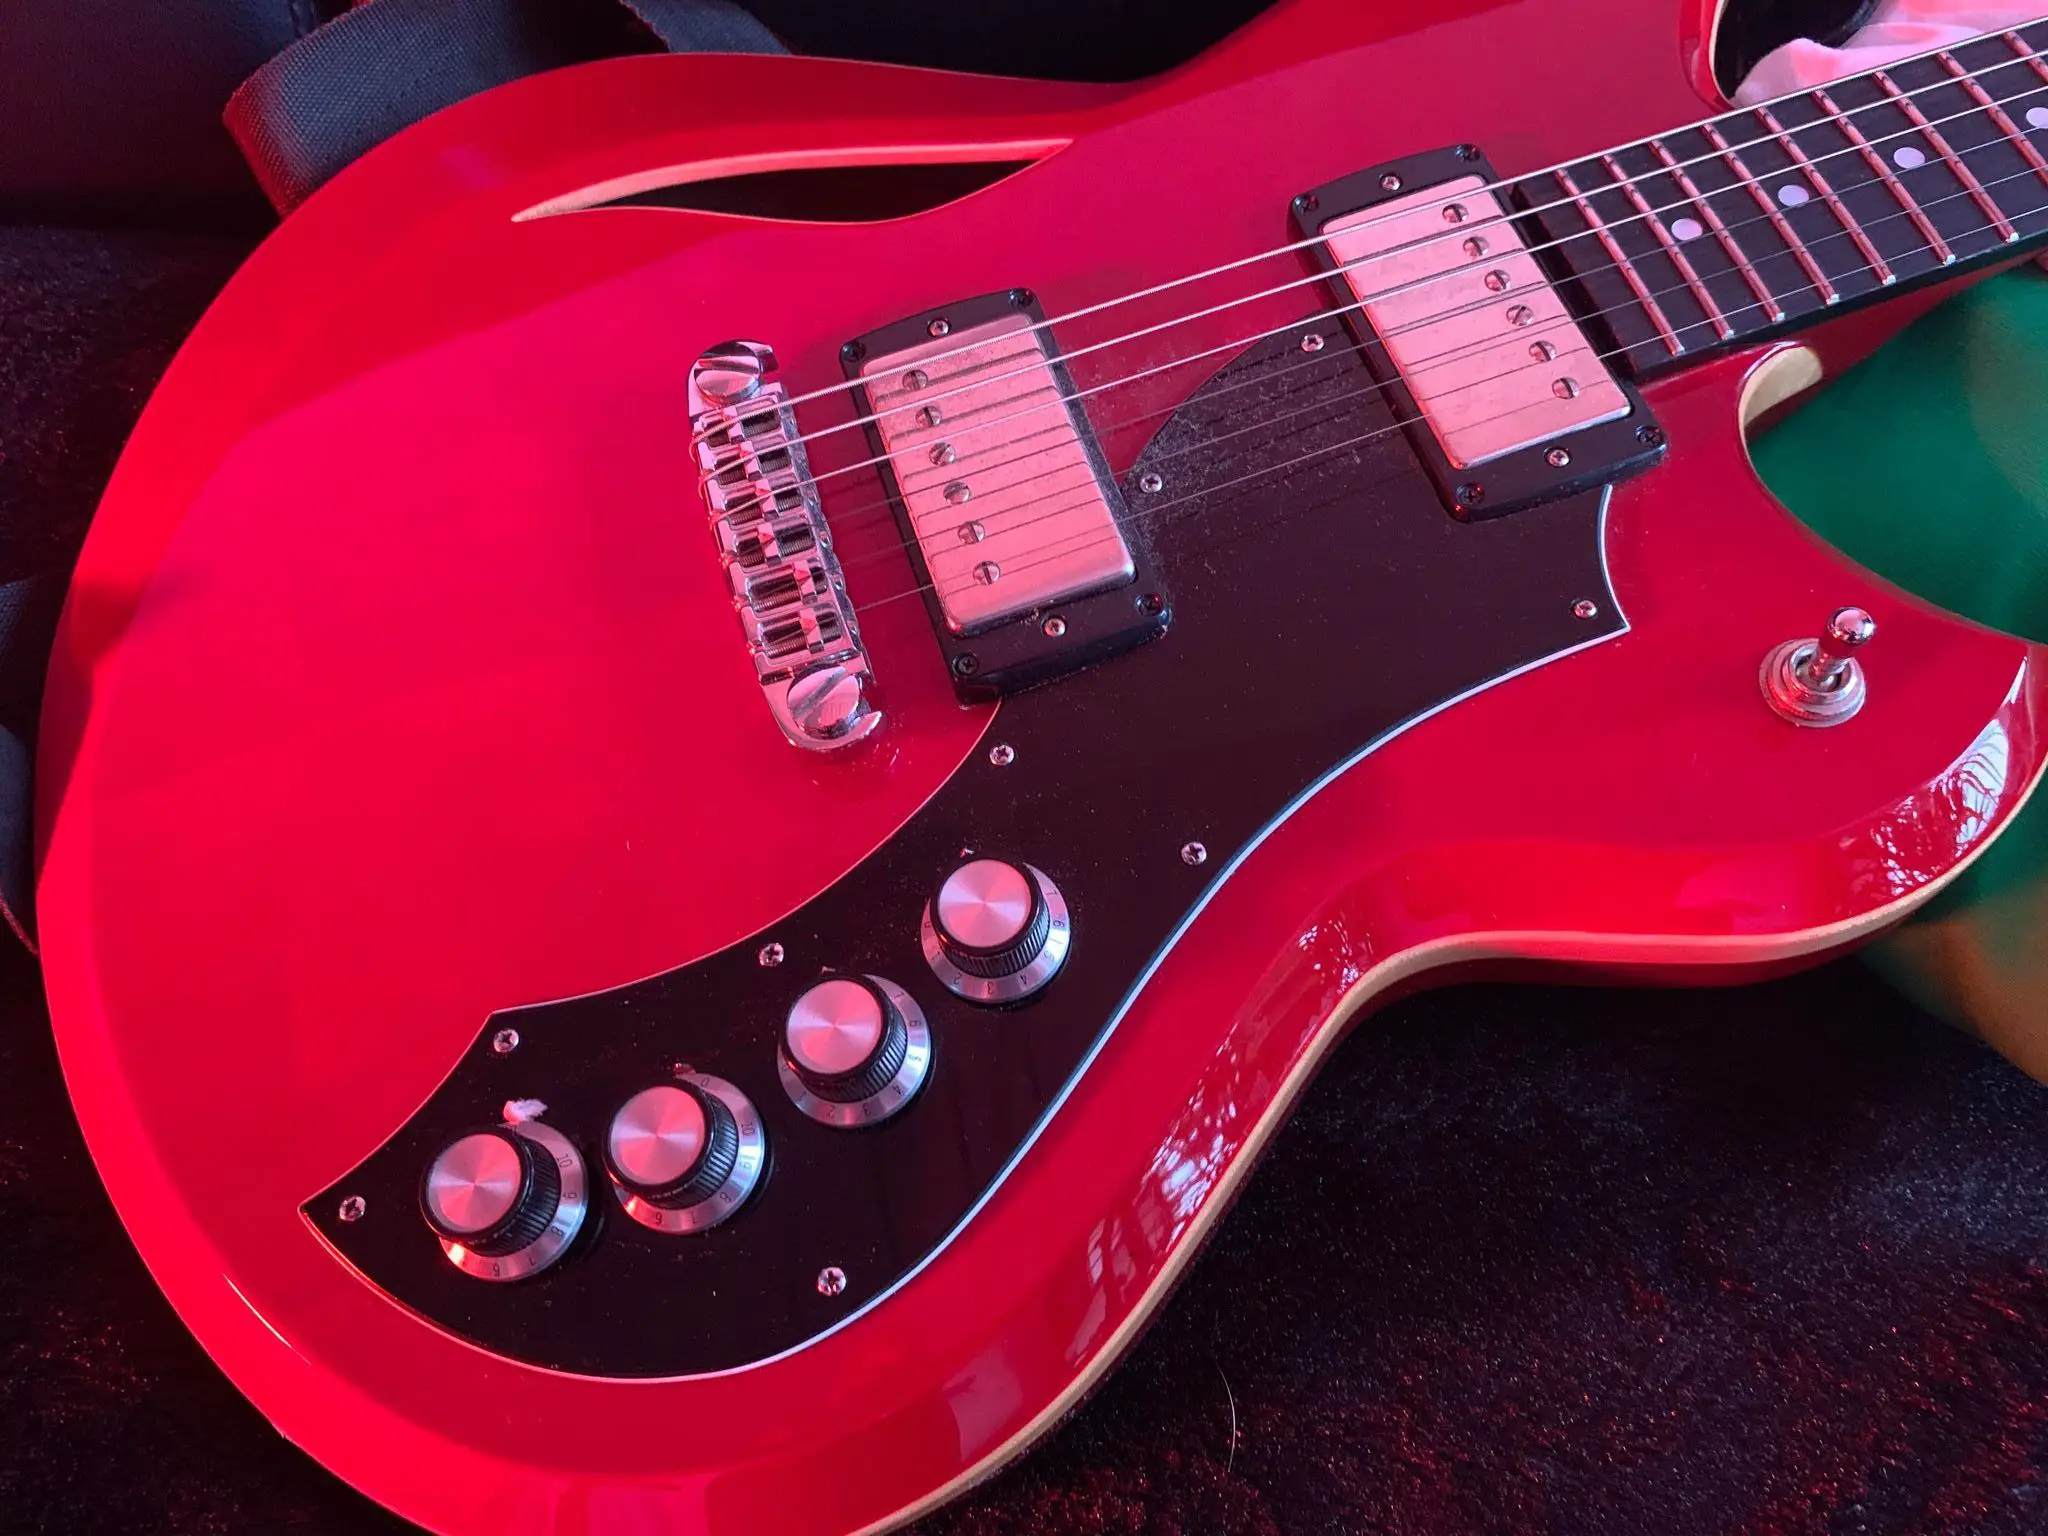
A pickguard (also known as a scratchplate) is a sheet of material (commonly plastic) that is placed on the face of the guitar body to protect the finish from getting scratched up when the guitar is played.
On many electric guitars, it also serves as the cover for the controls, sometimes mounting the pickups. In addition, it can also serve as decoration.
Plastic is the most common material used however there are other pickguard materials such as acrylic glass, glass, plywood, fabrics, metal, and mother-of-pearl/Pearloid varieties. Expensive guitars may have luxury pickguards made from exotic woods, furs, skins, gems, precious metals, Mother of Pearl, and abalone pearl.
2. Choosing the new appropriate Scratchplate/ Pickguard
Many people will ignore this step and just randomly buy an attractive scratchplate at the store.
However, this can because of a big problem! This is because when you remove the old scratchplate there will be left faded tan lines on the wood of the body.
This causes a change in color at the position of the scratchplate that overlaps onto the guitar body. So you will need one that perfectly covers the shading.
3. Removing the Old Pickguard/Scratchplate
This step is not very complicated but requires care to avoid damage. For the very first step, you will need to know what the type of your instrument’s finish is and whether the pickguard adheres to the finish or directly to bare wood.
You may need something such as a towel to protect your guitar and make sure that it doesn’t get damaged while you work. Heating is one of the most common ways used to soften the adhesive prior to removal, but always pay attention as overheating lacquer and delicate finishes can cause them to blister and create an enormous problem.
A hair blow dryer would be a great choice. (For electric guitars, after removing the strings, you can use a small Phillips-head screwdriver to remove the pickguard). Then you need to concentrate the heat to one point on the pickguard to slowly loosen the adhesive holding in place, I preferably do this with the corner so that when it lifts up, you can easily grab and peel it back.
Be patient and careful, it will take time depending on the type of Adhesive and sometimes this could take as long as half an hour or longer. Just keep waving the blow dryer back and forth to loosen the adhesive until the pickguard being able to peel free completely. Make sure that it doesn’t direct the heat into any one spot for too long. The most recommended way is a few seconds at a time, so it doesn’t overheat the guitar or risk loosening any glue for bracing inside your instrument.
3. Cleaning the Surface
After the old Scratchplate removed, there will be some glue residuals left, please make sure that you totally clean them before applying the new one.
An unclear surface will both affect the sticky quality and aesthetics as well. Use your thumb skin force, polish, or lemon oil and a dry clean towel in this step.
4. Replacement
This is the most careful step in the whole process because if you make mistake, you will have to choose baring for an imperfect position or backing to the first step to change for the new one. In addition, once you use heating to remove it, the scratch plate’s glue can not well stick anymore and you will have to change for a whole new one.
But do not worry, here some tips helping you do it well. You can practice raising and lowering the guard to get your hand feels the right position before unwrapping the tape, or I also see some people attach the strips of tape onto the bottom edge of the guitar to firm it into proper place and then slowly unwrap the back glue tape.
Another tip is that you can use your pencil taking note 2 pointy parts protruding on the start and end positions where your scratchplate will cover in and then use them as stakes to slowly place your pickguard.
Conclusion
Well done, now you have known how to replace your Guitar’s scratchplate. Although it is not something that is very complicated, feel free if you make mistakes at some beginning trial times, practice makes perfect!
And one of the most interesting tricks that if your guitar pickguard does not wear down or either become very thin and flimsy or slowly start peeling off, you totally can have like a new one just by decorating it with markers or paint, such a very customizing, interesting as well as inexpensive way!
You can also have a handmade or pre-made scratchplate with your own signature as a gift for friends. Hope that you can feel interesting and passionate about your Guitar every day.